

 intermediate
+50%coupon redemption rate
Discount ReminderRemind users of their coupons to encourage redemptionIndustryEcommerce
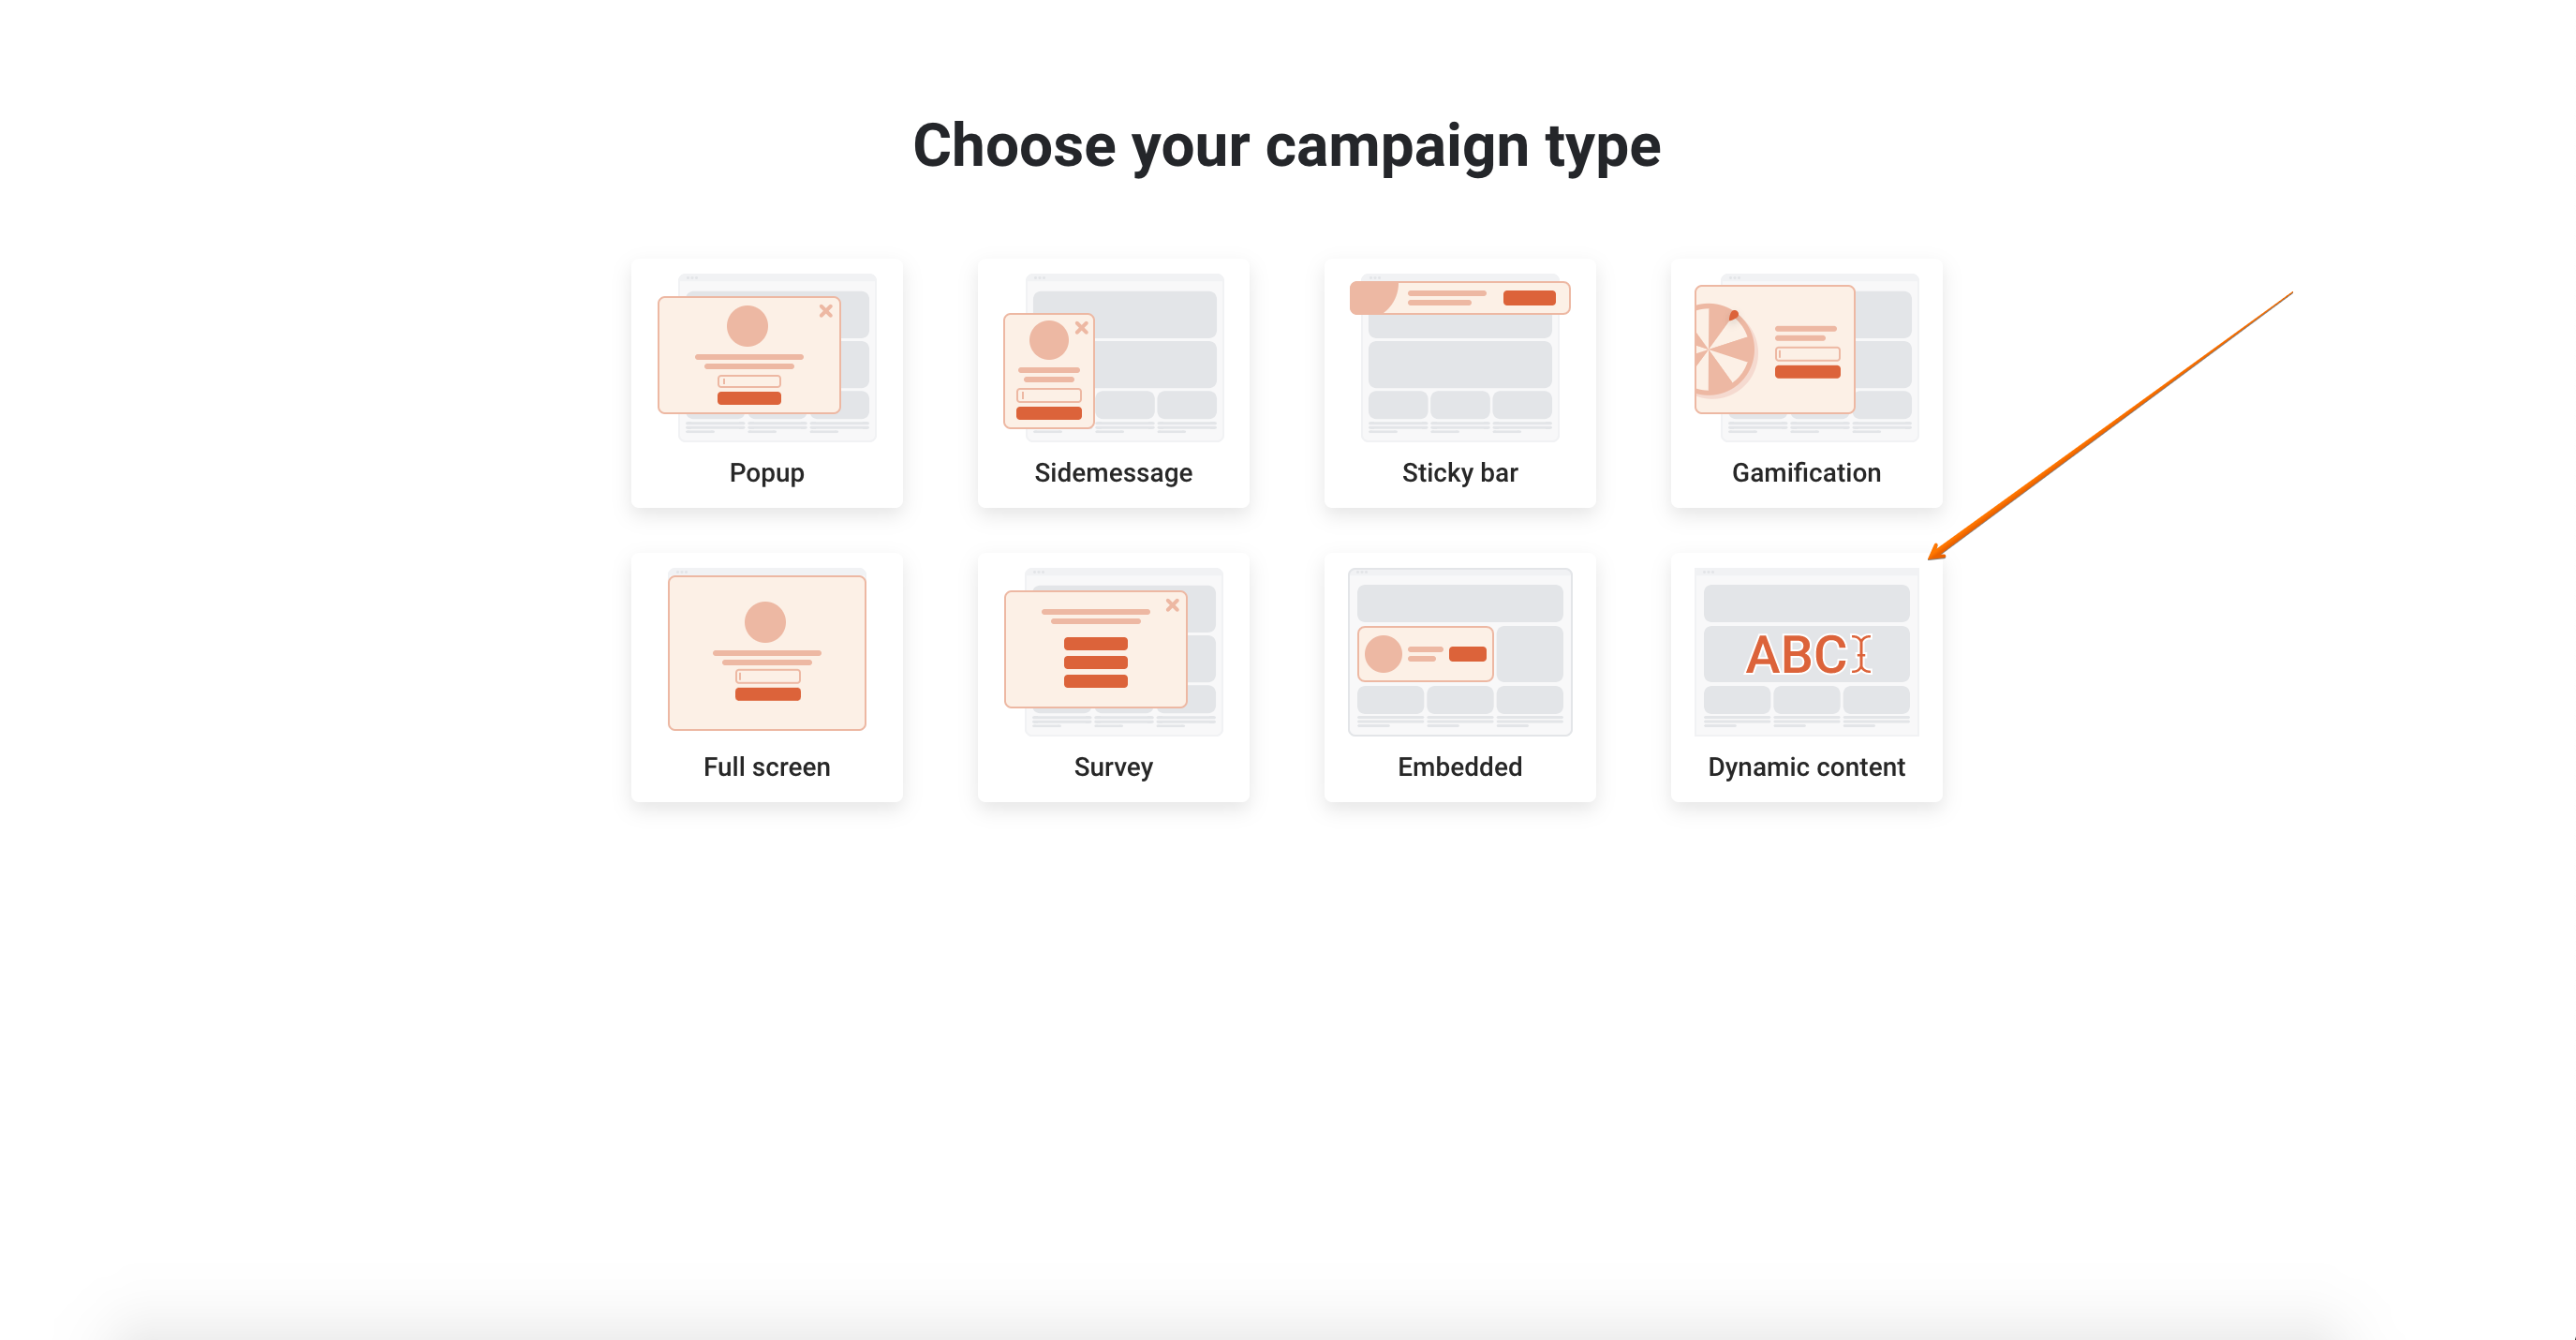
TypeOverlay
IndustryEcommerce
TypeOverlay
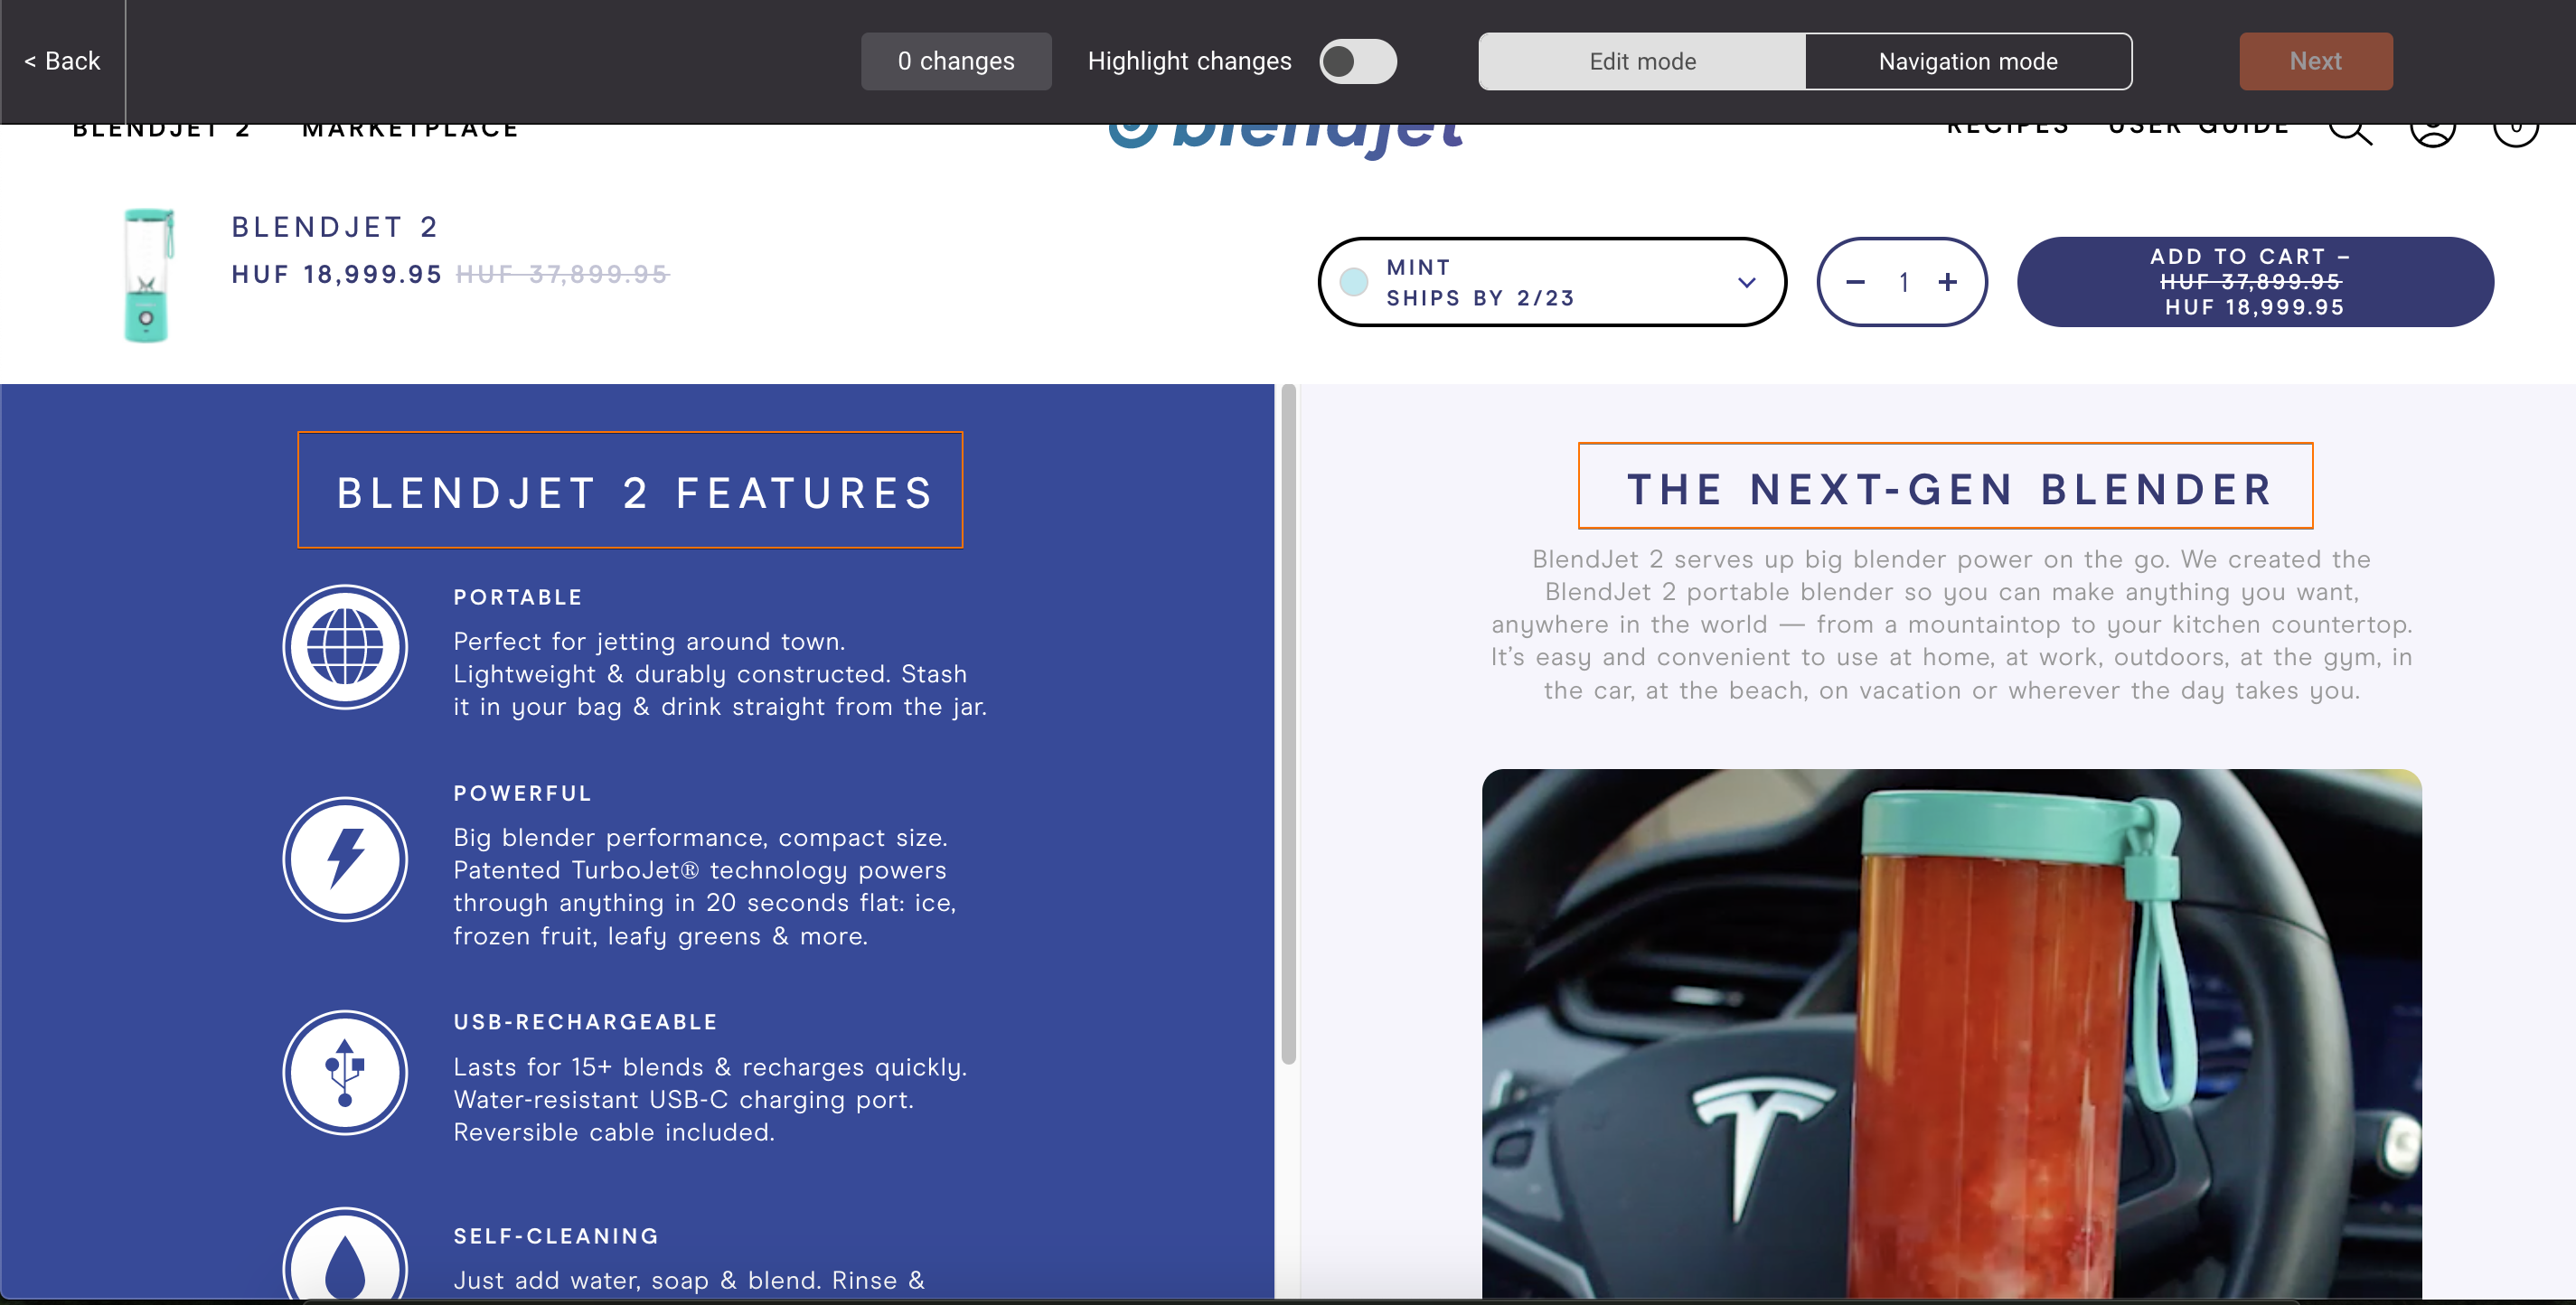
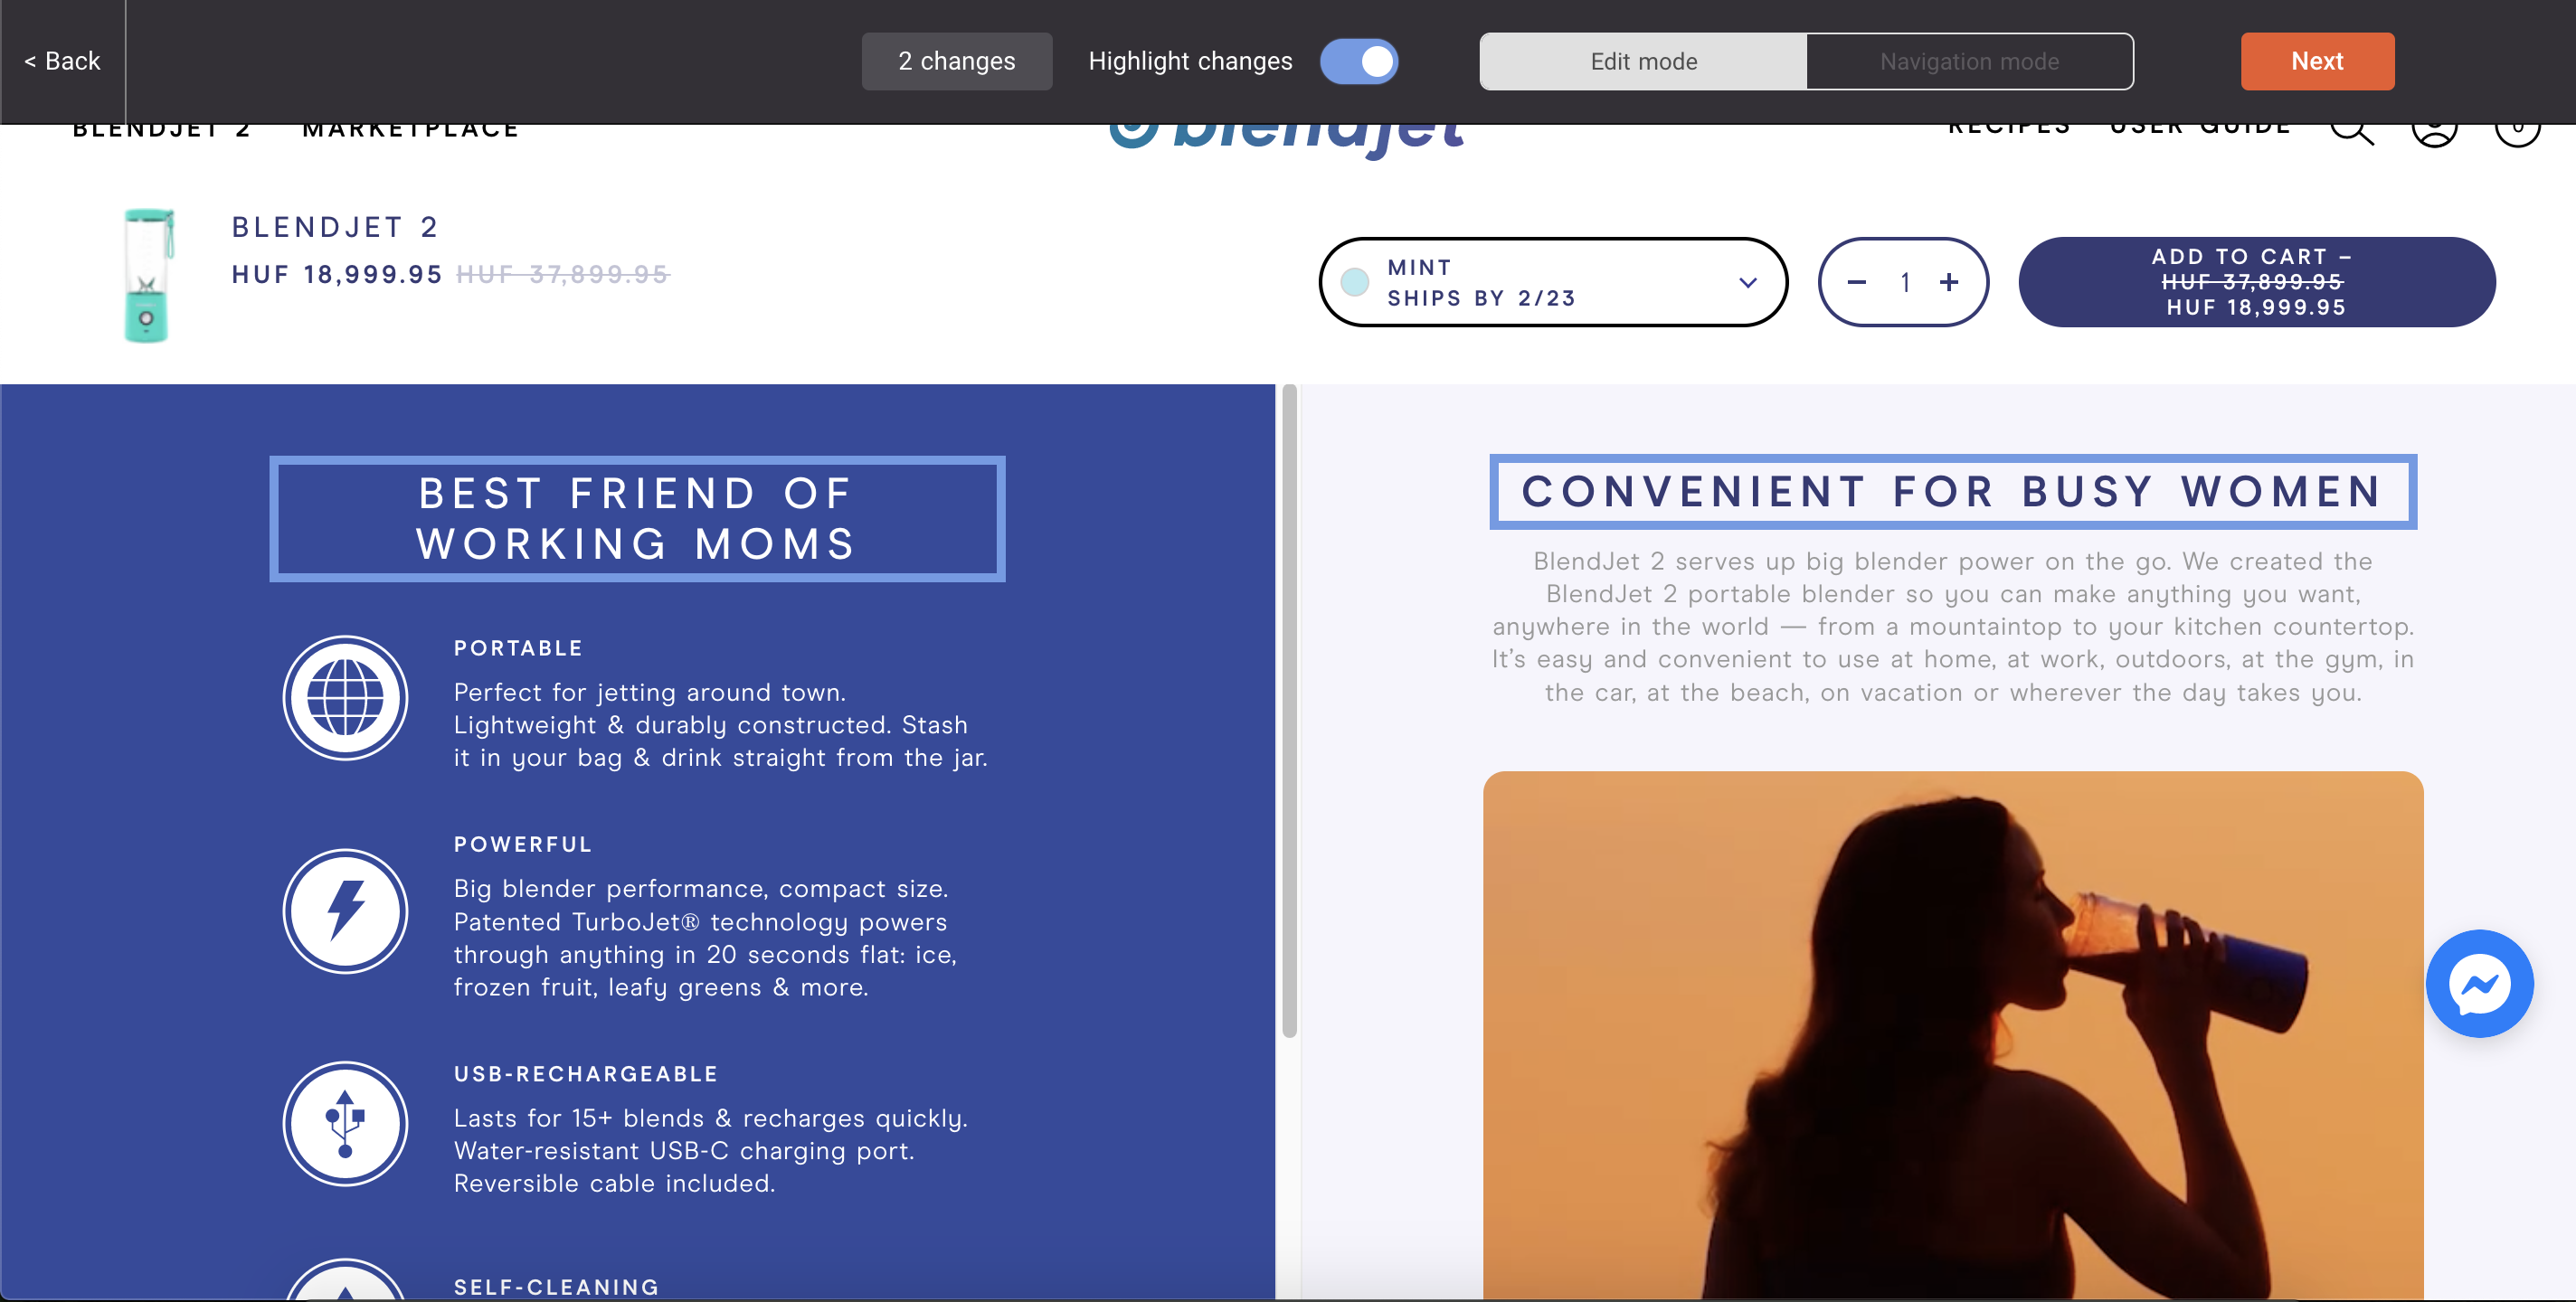
Remind users of their coupons to encourage redemption. Back to all tactics Discount Reminder Remind users of their coupons to encourage redemption Maximize coupon redemption with […]