

Are you running multiple Facebook or Instagram ads with different copy, value propositions, or designs? And are you driving traffic from all those ads to the same landing page?
There’s a great opportunity in front of you: personalize the copy and the value proposition of your landing page for each ad. This will go a long way toward increasing the ROI of your Facebook ads.
All you need to do is to create a new Experience variant for each Facebook ad and personalize your landing page copy using OptiMonk’s Dynamic Content feature.

Step 0: Background information
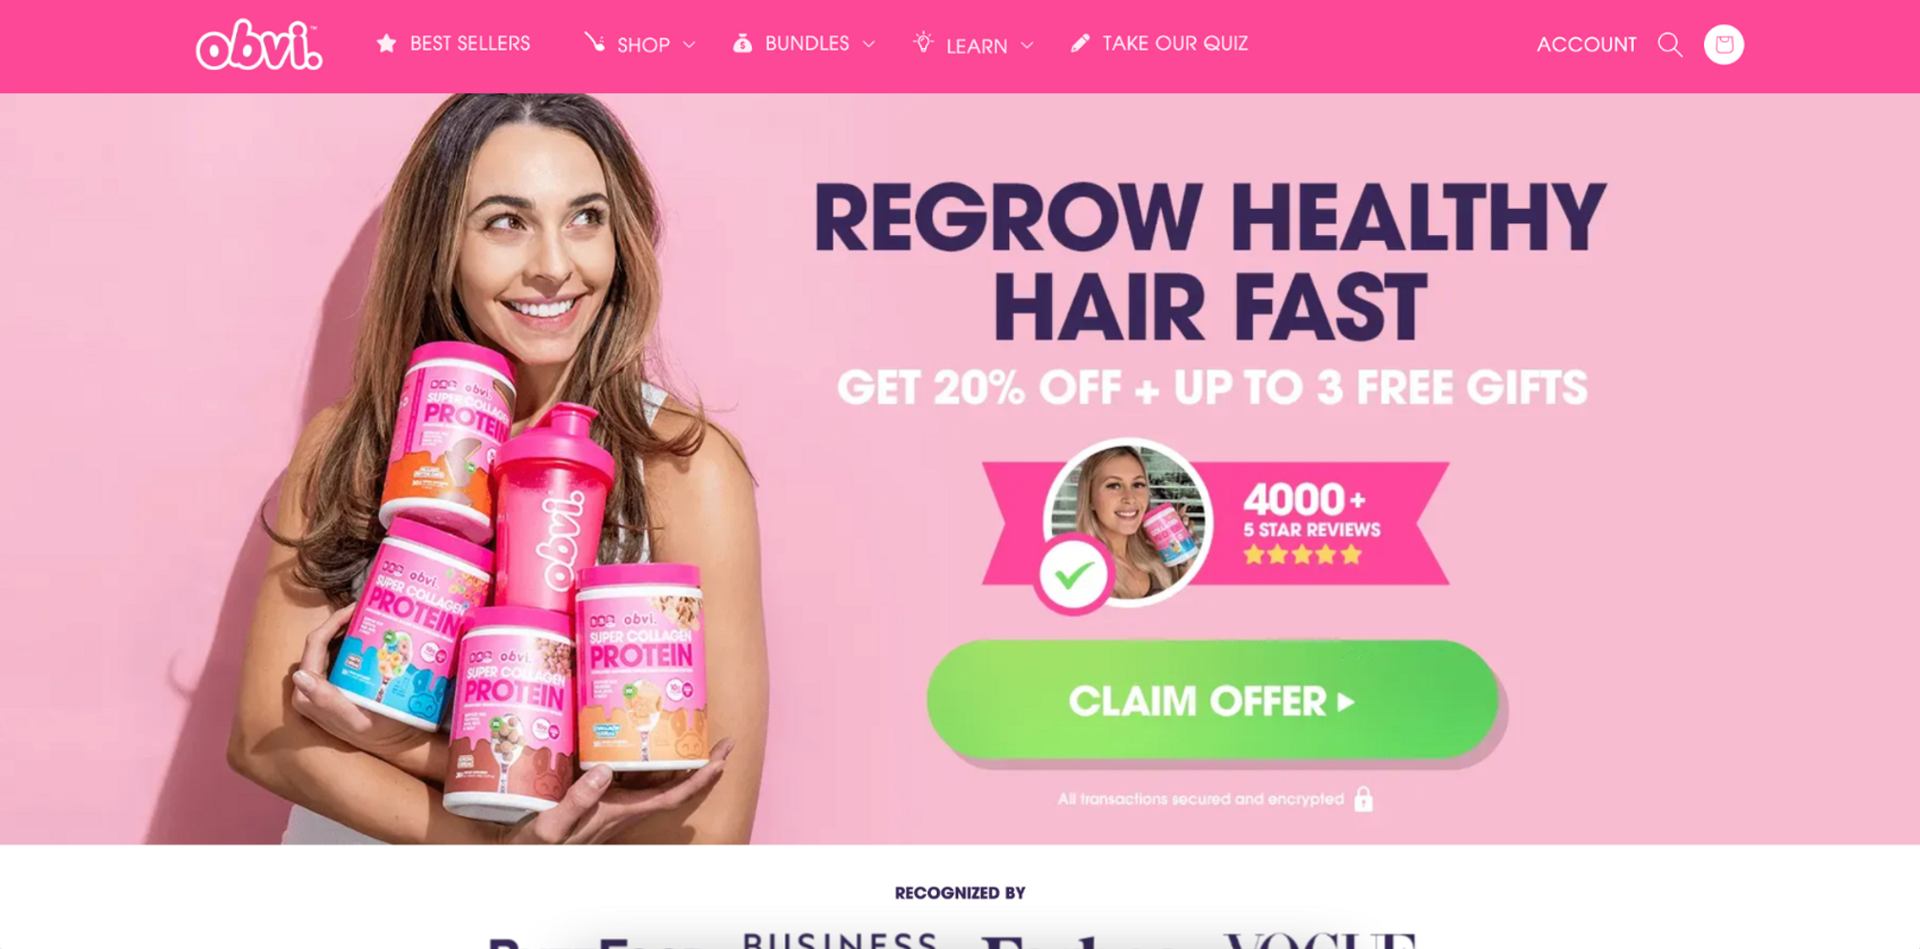
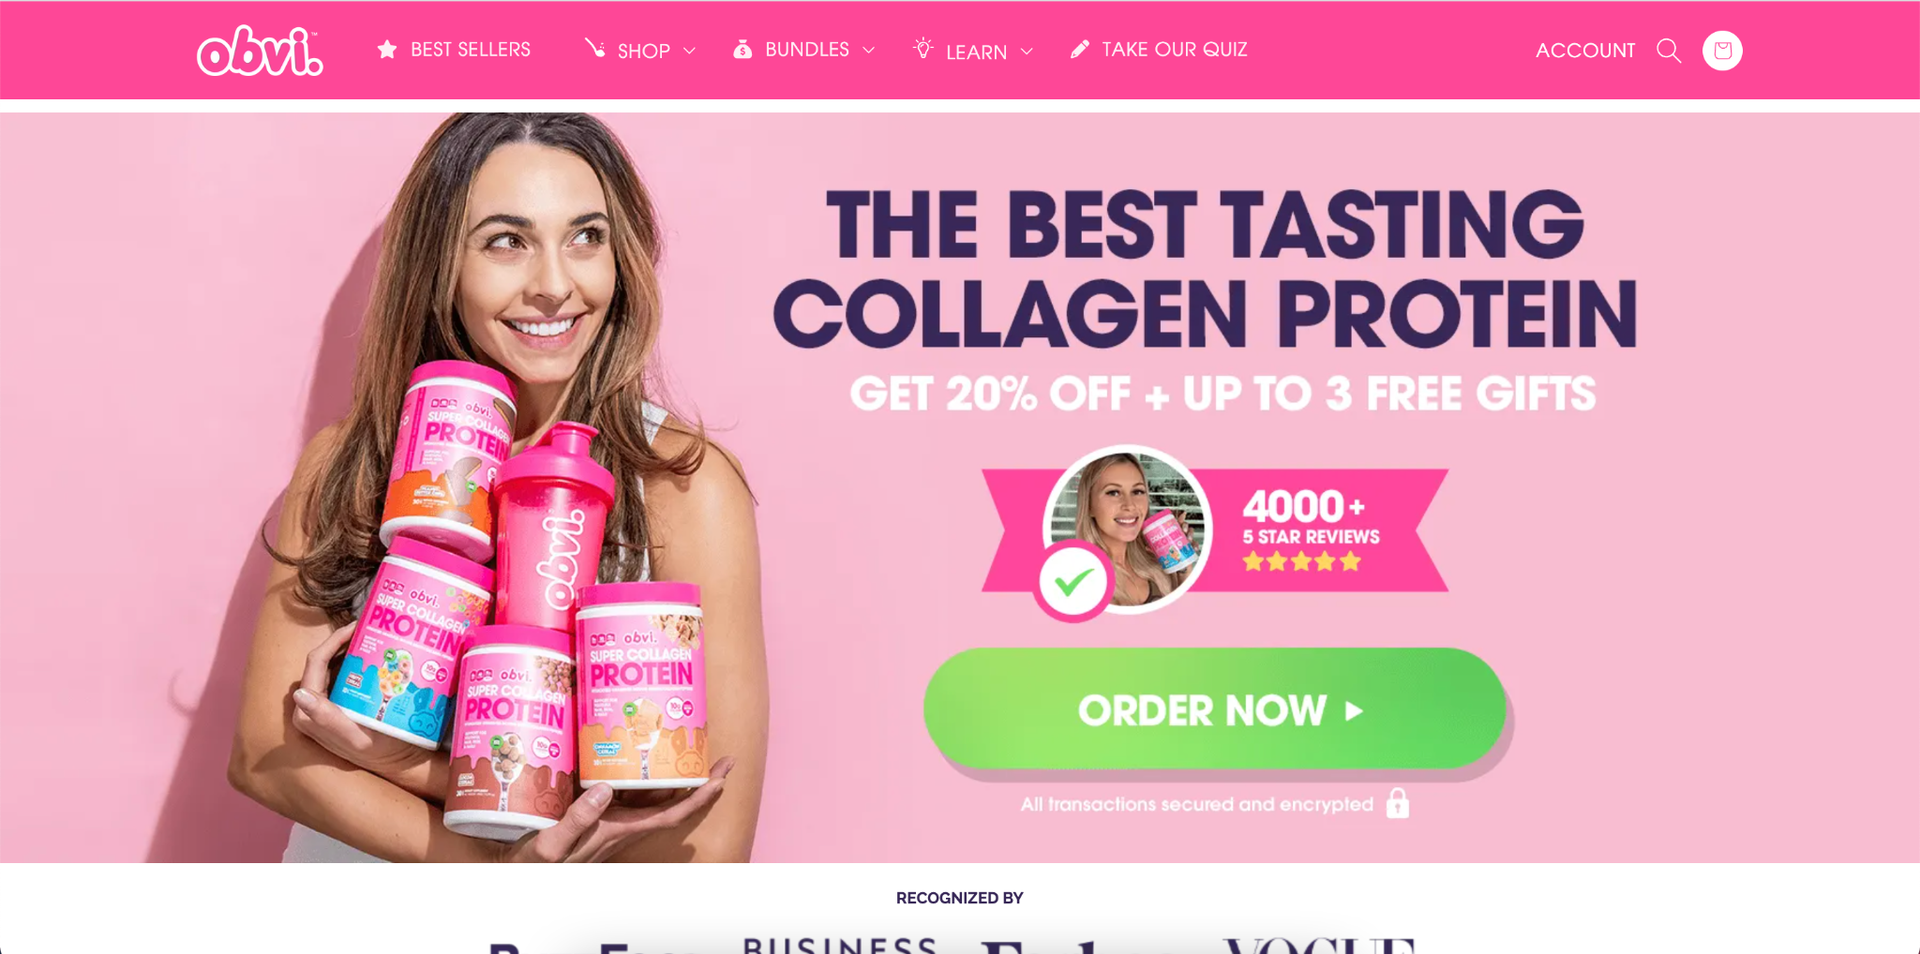
Let’s say you have a landing page where you promote a certain product. In this example, a collagen protein is being promoted.
At the same time on Facebook, you are targeting different user segments. These segments are interested in buying collagen, but for different reasons. The first user segment wants to reverse the signs of aging, while the other group would like to strengthen their hair. In this case, it is wise to personalize your landing pages based on the users’ interests to create a unique shopping experience.

Step 1: Create a new Dynamic Content campaign
If you’re new to Dynamic Content, you can learn all the important information about it here.

Select the section that you would like to personalize on your landing page and just simply rewrite it:

Now the experience is ready for the “reverse aging” segment. Let’s create another variant for the “prevent hair loss” segment.
Step 2: Create a new Personalized Experience
Creating different experiences for different sub-segment can be done through Personalized Experiences. If you want to learn more about Personalized Experiences, click here.

Add a new variant to Experience B. Your original campaign is in Experience A.

You can rename these experiences to match your segments, like Experience A to “Goodbye to wrinkles” and Experience B to “Regrow hair”.
Step 3: Modify your second campaign variant

Step 4: Add new rules to your experience variants
Use the “Visited URL” rule. This will allow you to only show your campaign to visitors who are coming from a special ad.
Add a snippet of the URL (you will probably want to use the UTM campaign of your ad, like utm_campaign=regrow_hair) where only those visitors land who have come through that specific ad.

Step 5: Activate your campaign
This is how your campaign will look when your visitors have come to your site through the ad that is addressing those visitors who want to have healthy hair by using collagen.